Contact Us

If you have any questions or inquires for Mike or Jackie, feel free to contact them using this form.

3 Dusky Place
Twizel, Canterbury, 7901
New Zealand

+64276722788

Blog

For more photography tips and links to the books made on our workshops checkout the Newsletter links

Make the most of your Photography Workshop with us

Jackie Ranken

Making the Most of Your Photography Workshop

Photography workshops challenge, inspire, and reward you with knowledge that lasts a lifetime. They connect us through shared experiences, offering unique perspectives on the same subject. Each participant captures different parts of the landscape in their own way, making it a wonderful opportunity to support one another, have fun, and make new friends.

However, it's not all fun all the time. There may be moments when you feel lost or out of ideas. Despite these challenges, workshops can push you out of your comfort zone and encourage you to take photographs you might not have tried otherwise.

Here are some tips to make the most of your photography workshop:

Before the Workshop Starts

  1. Check Your Gear: Ensure all your equipment is in working order, including batteries, memory cards, lenses, and any other accessories you plan to use.

  2. Prepare Mentally: Turn up with a clear mind, leaving behind fears and worries. Bring your awareness to your feelings and thoughts.

During the Workshop

  1. Stay Present: When you arrive at a location, clear your mind, take a deep breath, and focus on what attracts your eye.

  2. Practice Techniques: If nothing immediately catches your attention, use the opportunity to practice a photography technique. This is what workshops are for – learning new skills suited to the subject at hand.

  3. Mindfulness: Don’t worry about the outcome. Concentrate on the task at hand and go through the steps mindfully. Carefully navigate your camera menus so that with practice, you can find what you need quickly when time is of the essence.

Additional Tips

  1. Engage with Others: Take advantage of the communal environment. Engage with fellow participants and instructors to share ideas and gain feedback.

  2. Experiment: Don’t be afraid to experiment with different settings, compositions, and subjects. Workshops are a safe space to try new things without the pressure of perfection.

  3. Take Notes: Keep a notebook handy to jot down tips, techniques, and ideas that you learn throughout the workshop. This will help reinforce your learning and provide a reference for future shoots.

  4. Ask Questions: Don’t hesitate to ask questions, no matter how simple they may seem. Instructors are there to help, and your fellow participants might have the same queries.

  5. Review Your Work: Take time to review your photographs during the workshop. This will help you see your progress and identify areas for improvement.

By following these tips, you can maximize the benefits of your photography workshop and leave with new skills, ideas, and a sense of accomplishment. Remember, the goal is to learn and enjoy the process, not just to take perfect photos.

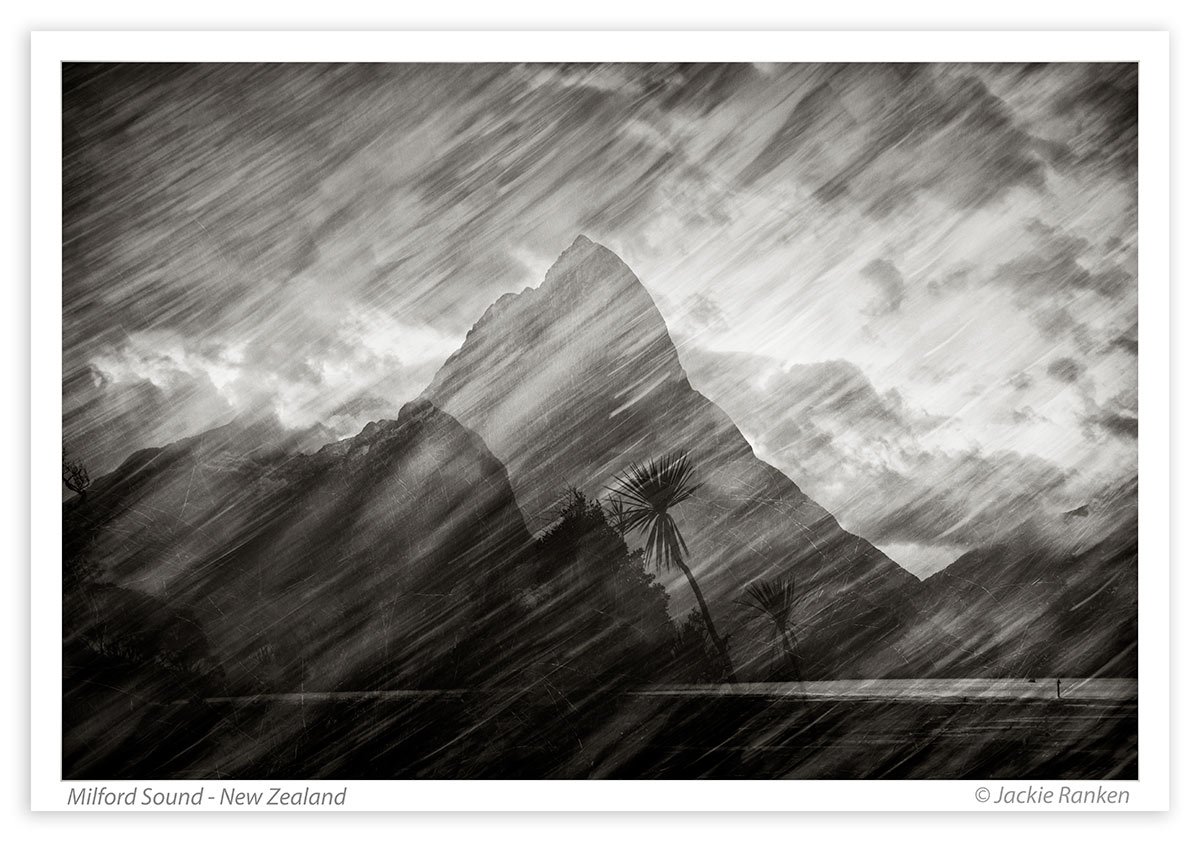
Develop your style by continued practise

Jackie Ranken

Develop your style by continued practise by Jackie Ranken

We all have our own preferences in life. We develop our appreciation of taste from a very young age by being exposed to different experiences.

When an experience resonates with us, we should make the effort to understand it better, that way it will hopefully re-occur in life more often.

‘Our biology doesn't dictate which foods we come to adore or dislike over time. Rather, our preferences are quite malleable, or "plastic”, and change depending on which flavours we get exposed to, when, how often and in what contexts.’
bio psychologist Julie Mennella

When it comes to photography this development comes from dedicating time to ‘seeing’. Not just seeing (understanding) what is in front of you but really analysing the content within the frame. Taking the time to develop your understanding of visual communication. Put simply, seeing the relationships of shapes, lines, textures, colours, hues, form and space.

  • How does the image make you feel and why?

  • What is it communicating to you and is this communication relating to a personal experience or is it new?

  • Regarding your personal preferences; what works for you and what doesn’t work for you?

  • Is it an effective communication or not?


Just as with food we need to be exposed to many different styles of photographic genera and learn the technicalities of making those images by continued practice. Practice in the ‘making’, then time for studying the results. And asking the questions above once again.

As a photographer who is learning the craft you should practise various styles until you feel that you know them inside out. You should be able to pick up your camera and make an image without having to stop to think about the mechanics of using the gear. Get the craft right first, then the ‘flow’ becomes easier.

This was certainly the case for me when I started to practise multiple exposures. I had to learn how to navigate the camera’s menu so that I could quickly choose the most appropriate option for many different lighting and subject situations. I tried so many random ideas resulting in many failures and fortunately some successes.

I had to go through a rough patch of making images that looked quite of control before I worked out the techniques that suited my aesthetics. The main thing was to keep going and enjoy the ride.

Personal style develops from channelling your photography practice into making photographs that resonate with you. It may be high contrast black and white, or soft pastel dreamy ICM captures, multiple exposures or whatever presses your button. It’s all up to you to make enough images to develop your taste.

Have fun practising.

Making Photographs VS Taking Photographs

Jackie Ranken

There is a difference between taking a photograph that records what you are seeing, to making an image that expresses your feelings about a place or subject. Some of the factors that influence how a place feels are:
• The time of day.
• The direction and quality of the light.
• The seasons.
• The weather.
• The subject matter itself.
A landscape photograph is generally a combination of the above factors. A photograph made early in the day will influence the direction and quality of the light as will the seasons and the weather.

Grasses - Castle Hill New Zealand

Canon EOS R5, EF 85mm F2.5, 1/5000th sec, 250 ISO

The image above was photographed when the sun was behind a thin layer of cloud, it is mid-morning. Clouds can be seen in the background, making the sky more interesting.

The shadows are soft and round allowing me to see into the shadows and capture some texture in there.

The season is late summer (mid-March) and the tiny flowers have dried up.

  • F2.5 on an 85mm lens has created a narrow depth of field that pulls the eye to the thin stalks of dark flower stems that stand out against the light sky and the light strands of grass that stand out against the dark rock. This area of interest is then framed by the sensual curve of rock in the background.

  • Photographing the scene at ground level is the view point of a rabbit, it is unusual and thought provoking.

Compared this to the photograph below that was photographed in very different lighting conditions. A bright sunny afternoon. The shadows are hard and black that makes the land formations feel strong and solid.

  • Here the wider angle lens and deep depth of field (F13) is keeping everything sharp and in focus.

  • The flowing foreground rock leads the eye to the background rocks, that look like heads.

  • The height of the camera is my standing height. Looking at this image I am sure that you can imagine this is what you would see standing in this spot. Where the first image expresses more about a feeling. I am not saying that one is better than the other, just different . Both are made not just found. I still needed to walk around the scene to find the right place for the lens and composition to work .

Canon EOS R5, EF35mm  1.4L II USM, @ f13, 1/125th sec, 100 ISO

Canon EOS R5, EF35mm @ f13, 1/125th sec, 100 ISO

I photographed Castle Hill with the monochrome picture style selected in my camera. This helps me to see my end result as I am shooting and it keeps me connected with my creative thought process.

I choose to shoot a combination of L jpeg + RAW file. That way I can choose to use the jpeg processed by the camera or re-process the RAW in the computer and perhaps make a colour file instead. (Don’t underestimate the value of a jpeg file that is correctly exposed and created by the camera. It is the best thing to bring you back to how you were feeling and thinking at the time).

  • The image below is the same subject as the first image but shot with a different lens. 35mm instead of the 85mm. “Change your lens and change your story”. My 35mm lens has a much closer focusing range, allowing me to add emphasis to the dead daisy’s in a different way.

No-matter where you are or what you shoot be prepared to explore your feelings and make images that connect you to being there. Photograph what you love and love to photograph.

Dead daisy

Canon EOS R5, EF 35mm, f2, 1/8000th Sec, 250 ISO

The Value Of Feedback

Jackie Ranken

Most feedback that you receive from friends and family about your images will generally positive - so as not to upset you - but these comments are not always helpful when you are wanting to become a better photographer.

Read More